FRACTURE TOUGHNESS
Small-scale fracture mechanics has proven to be an important research area in recent years due in part to the continual miniaturization of devices and investigation of size effects in various materials. For example, the fracture toughness (Kc) of thin coatings is seen as a particularly attractive material parameter, as it may help to understand the performance of a coating during service conditions. Analagous to macroscale fracture testing methods, microscale geometries such as single cantilever, double-beam cantilever and clamp beam bending require pre-fabrication of a small notch in order to initiate fracture under loading. An alternative method for measuring the fracture toughness of very small material volumes is the nanoindentation-based approach where the radial crack length varies as a linear function of the indentation load.
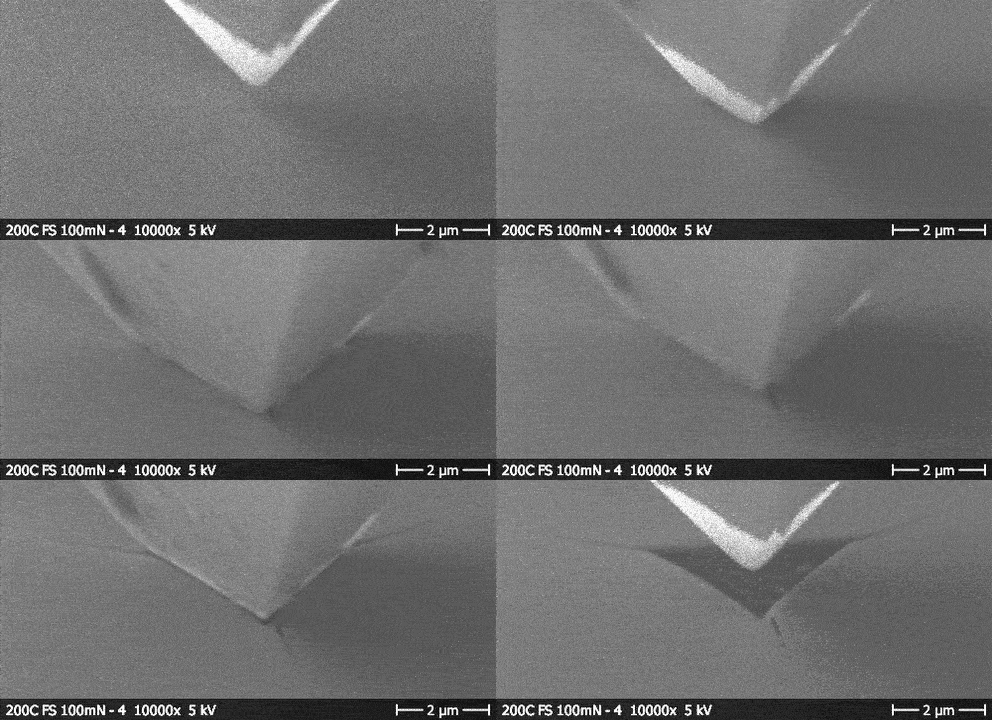
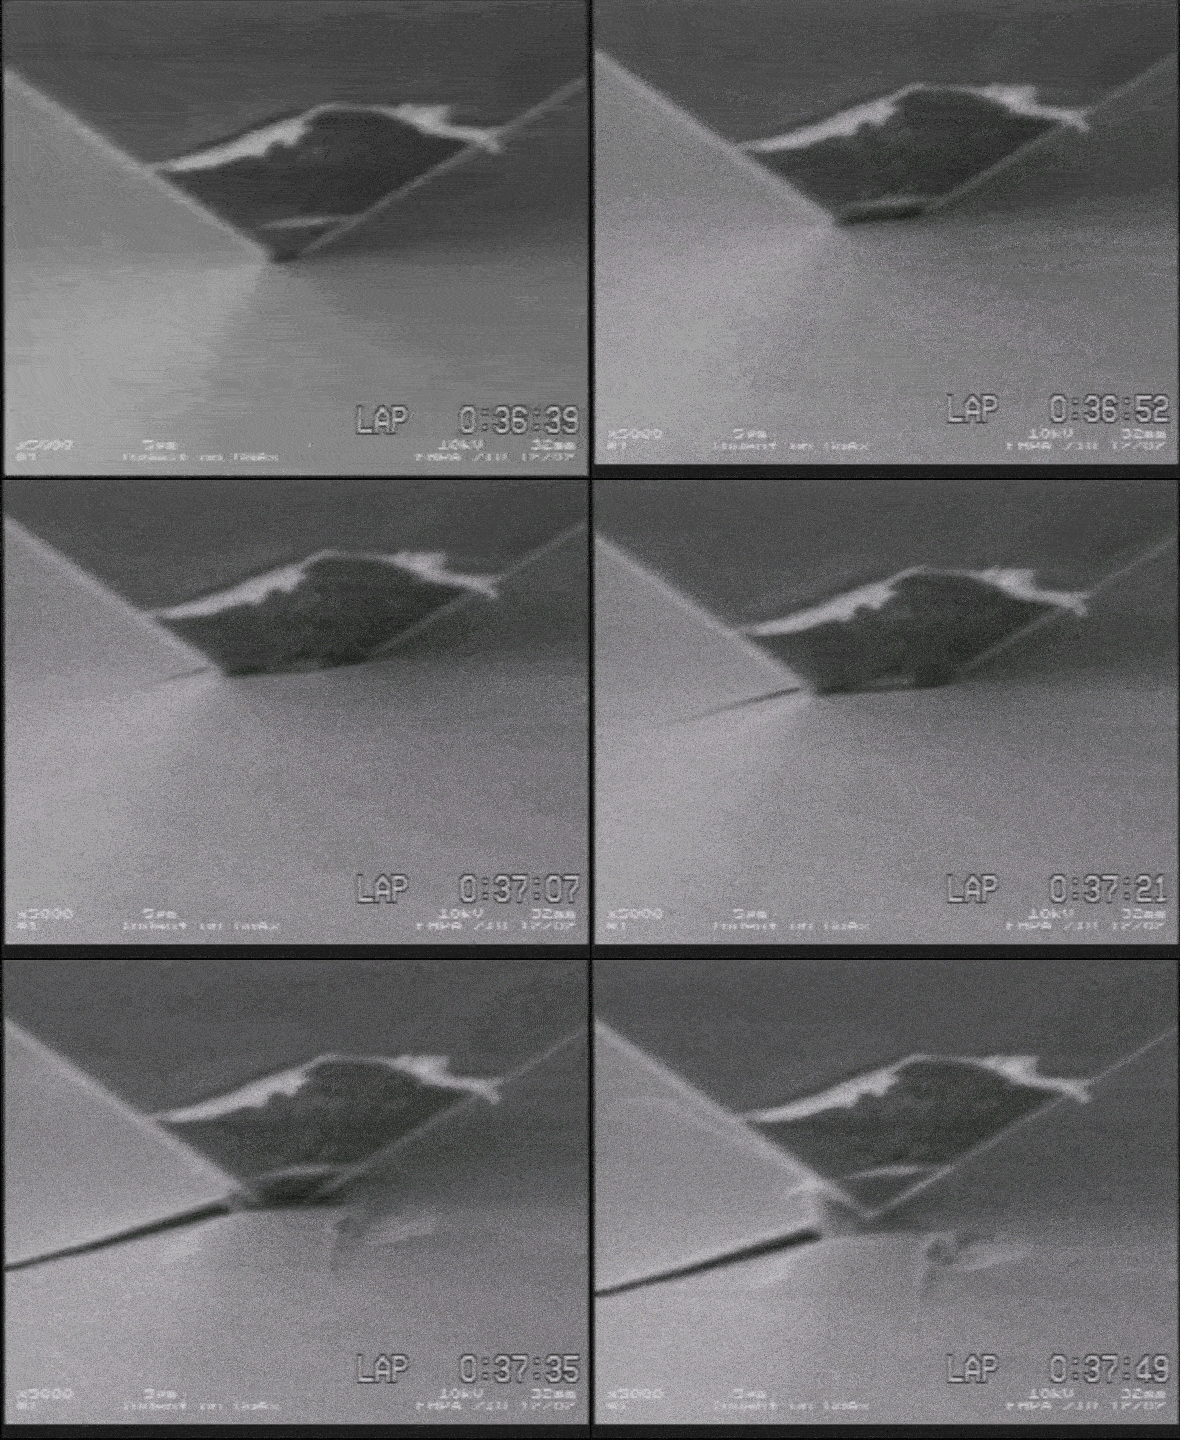
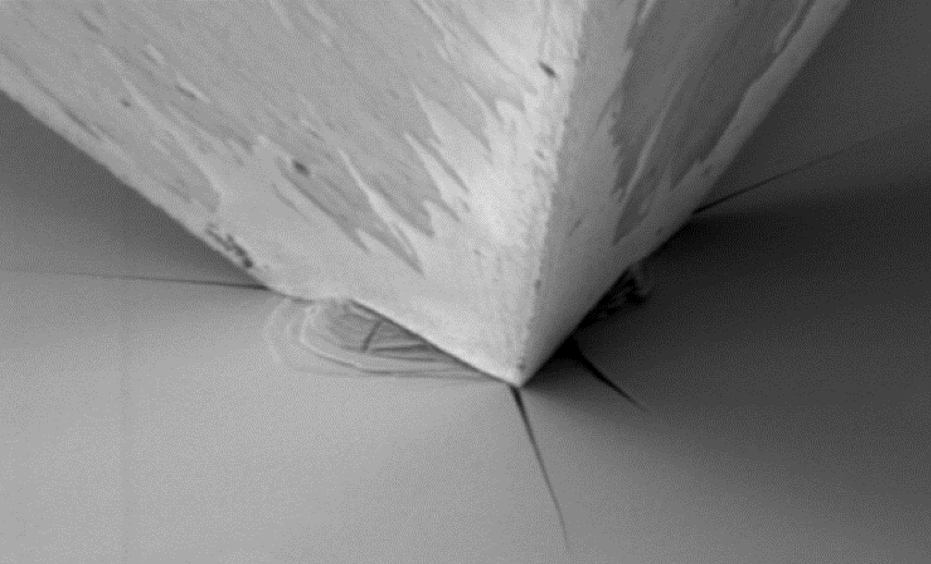
Indentation with a cube corner indenter into Gallium Arsenide (GaAs)
The most commonly used equation for indentation fracture toughness is derived from the Dukino and Swain model which defines Kc as a function of the applied indentation load, F, the average crack length, c, the ratio of hardness to elastic modulus (E/H) and a constant which depends on the geometry of the pyramidal indenter used.
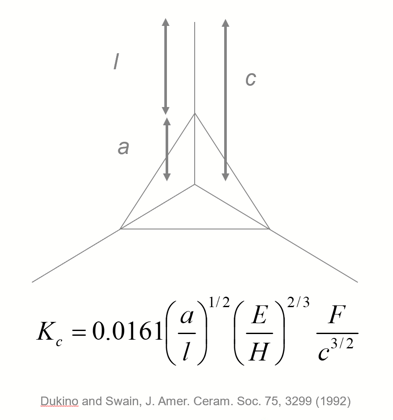
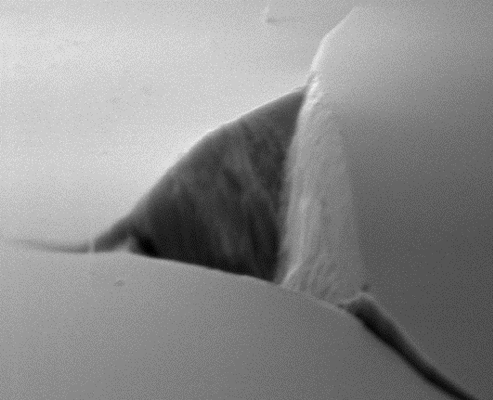
The Dukino and Swain equation for fracture toughness (left) and a typical example of a nanoindentation in a brittle material (right) with cracks emanating from the indent corners.
The sizes of the resultant cracks that develop around the residual indentation imprint are usually measured by direct observation by SEM or another method. Lawn, Evans and Marshall described the evolution of a half penny median/radial crack system in the far field of a sharp indenter. From their analysis, it is possible to obtain a simple relationship as follows:
Where α is an empirical constant that depends on the geometry of the indenter. For example, α = 0.032 for a cube corner indenter and α = 0.016 for a Vickers or Berkovich indenter (both have the same area-to-depth ratio)
An alternative to nanoindentation cracking studies is to actually fabricate microscale test elements which are dedicated to a particular type of fracture. There are three ways of applying a force to enable a crack to propagate:
Mode 1 fracture: opening mode (a tensile stress normal to the plane of the crack)
Mode 2 fracture: sliding mode (a shear stress acting parallel to the plane of the crack and perpendicular to the crack front)
Mode 3 fracture: tearing mode (a shear stress acting parallel to the plane of the crack and parallel to the crack front)
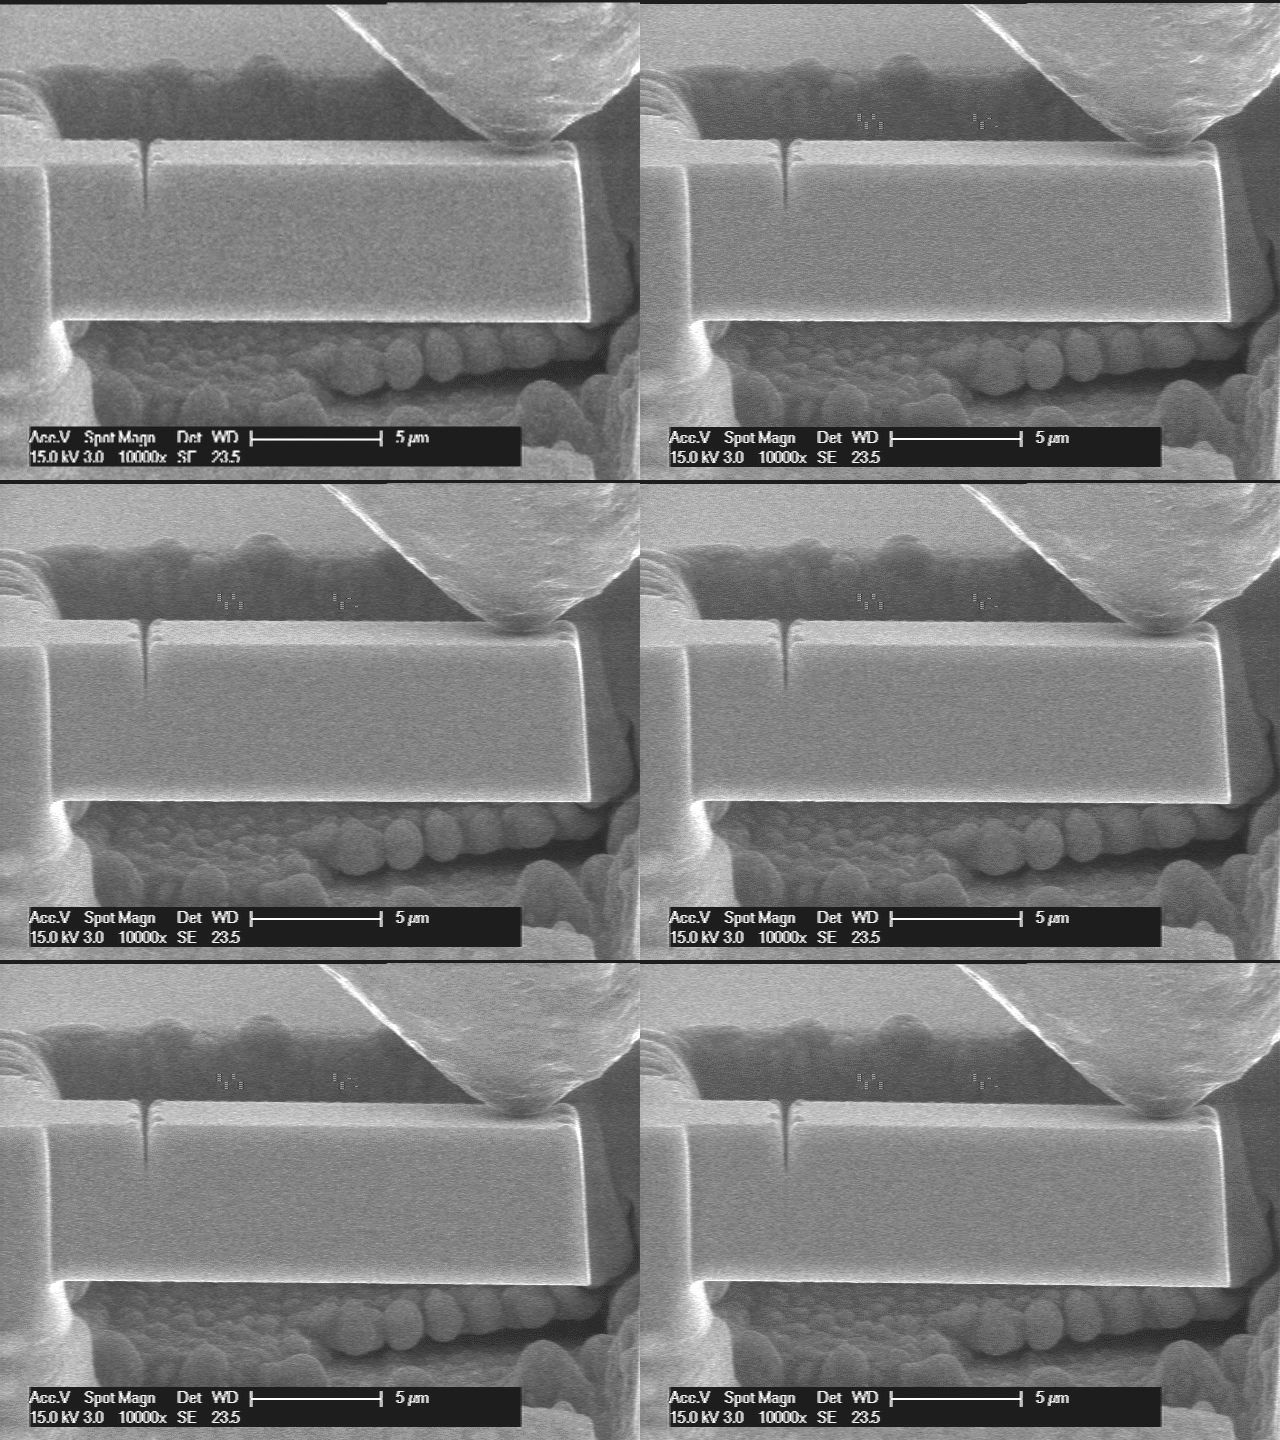
Mode 1
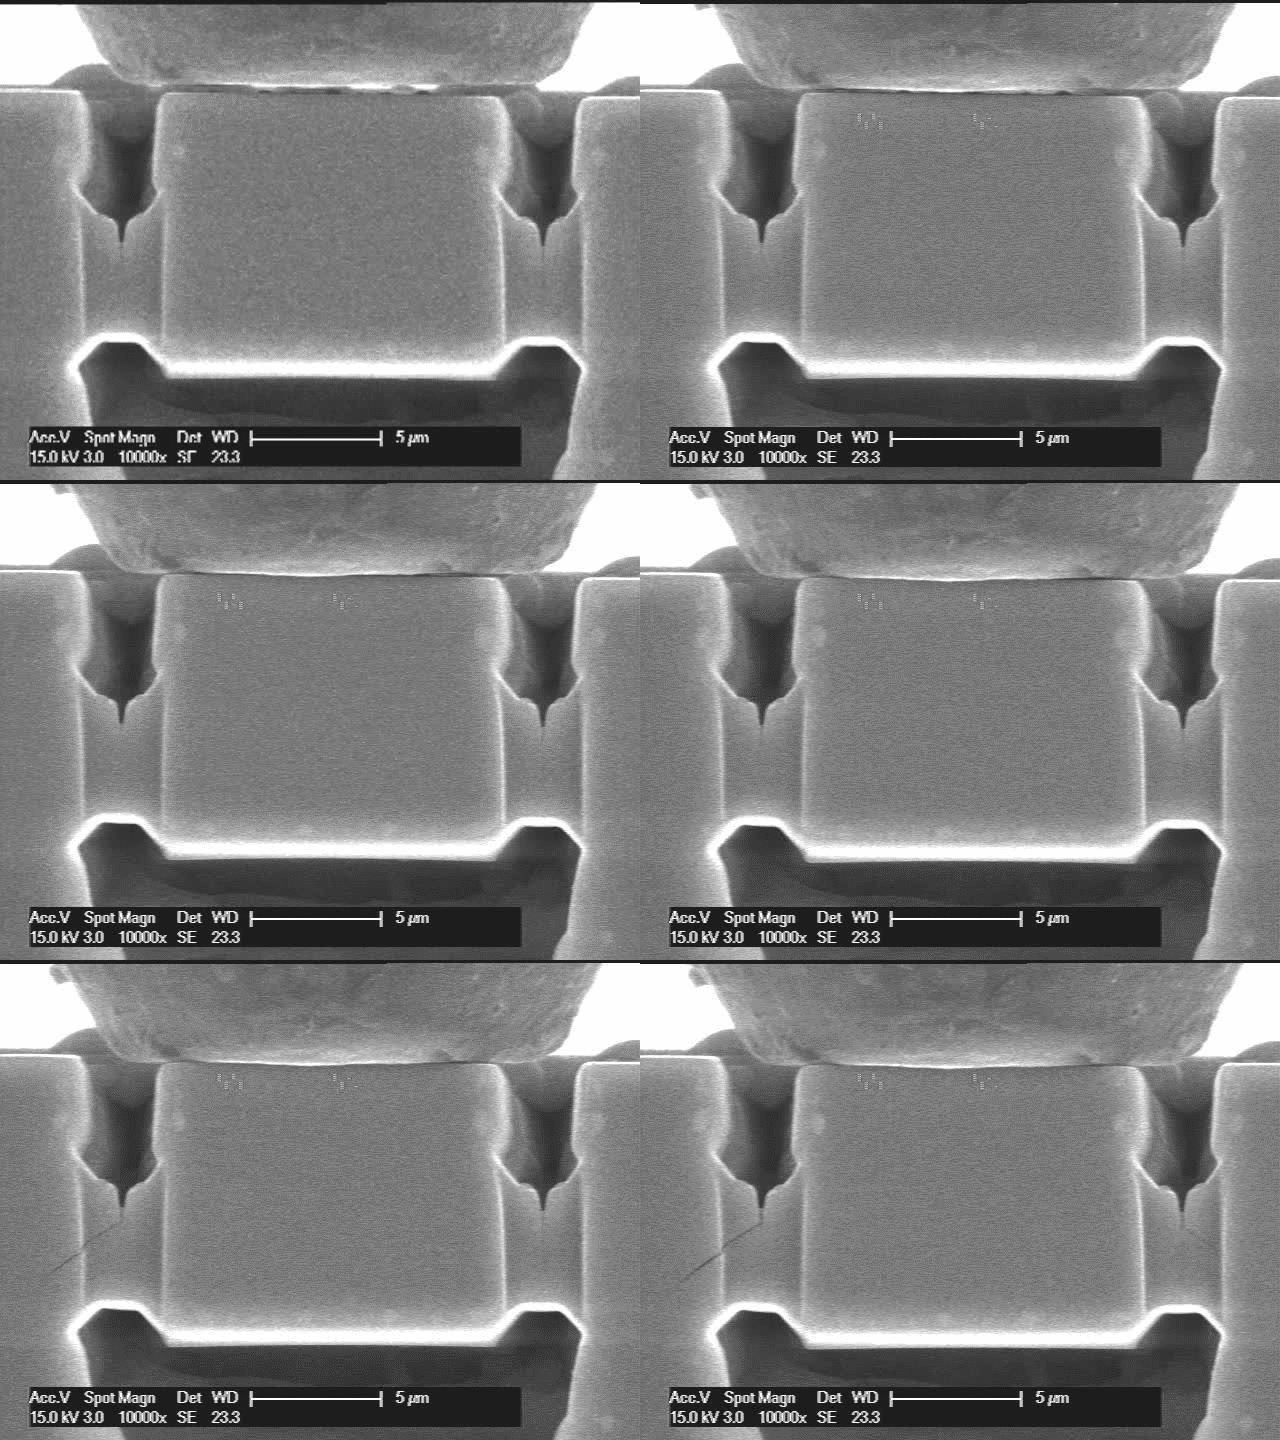
Mode 2
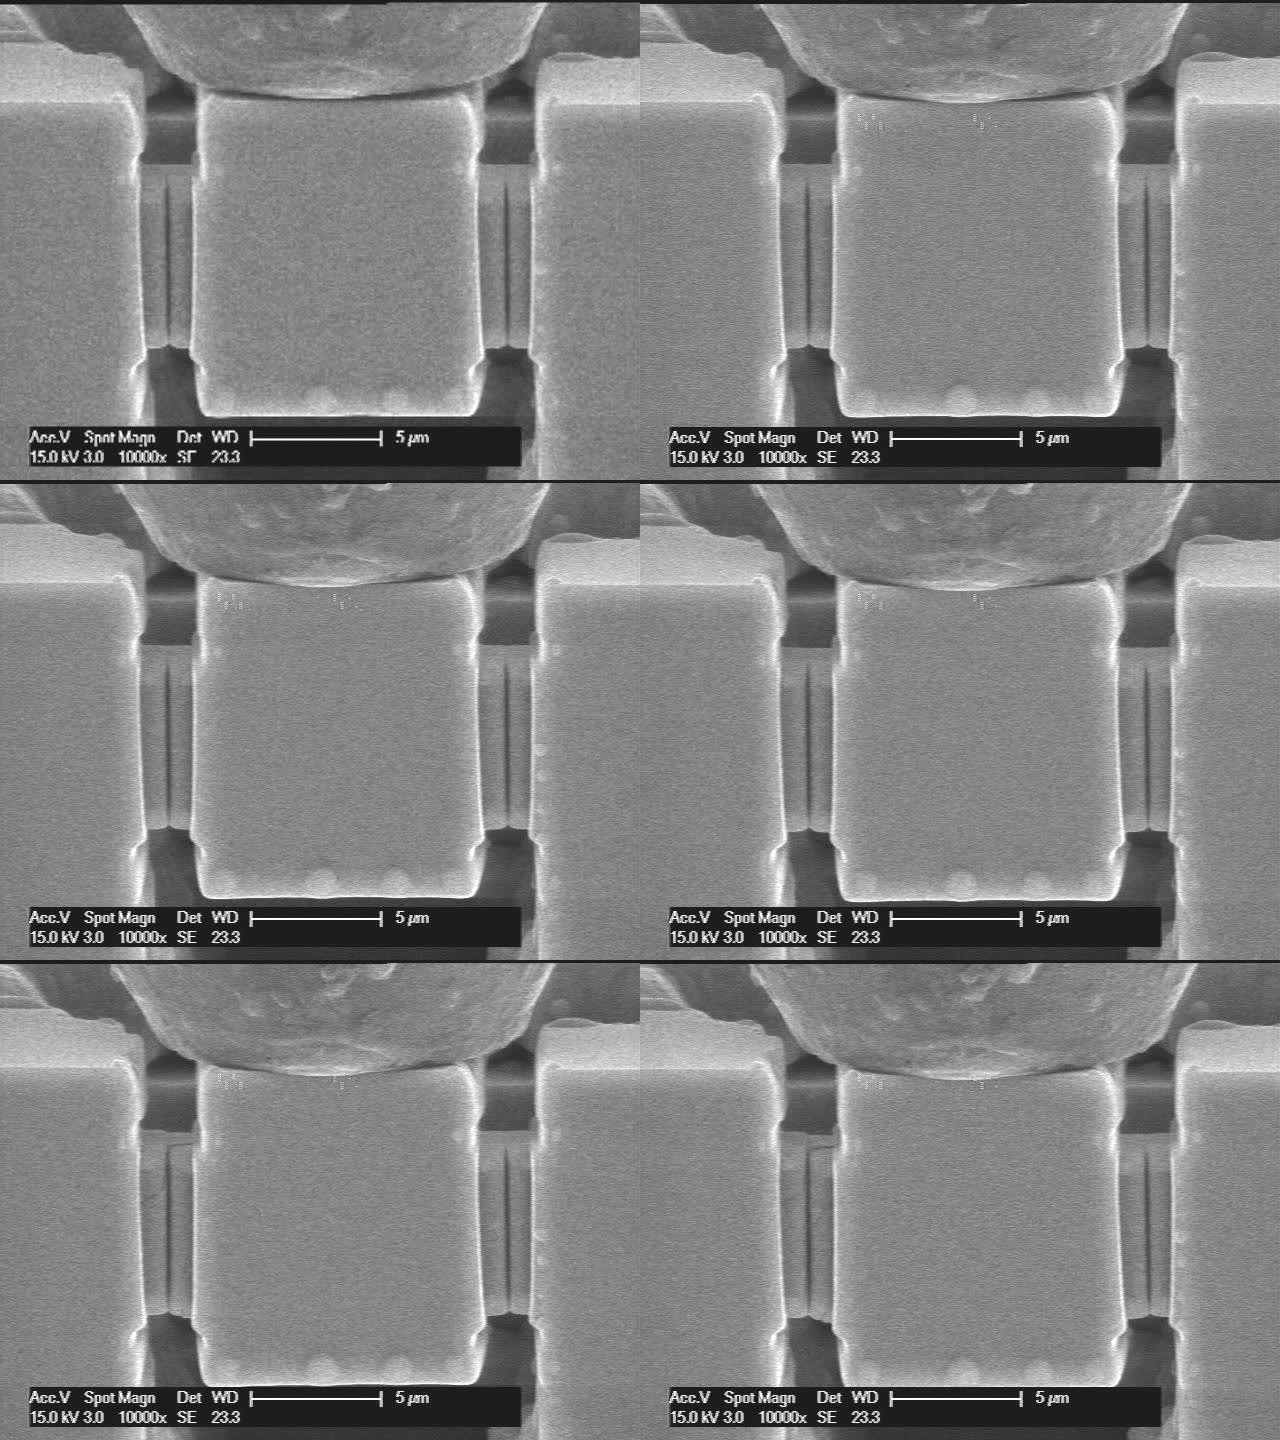
Mode 3
Examples of notched specimens prepared in single crystal GaAs by FIB milling. Finite element simulations were used to determine the mode I, II and III stress intensity factor distributions (from Ref. 7)
Other variations of the pre-cracked beam include micropillar test elements which may have one or more notches milled into them using a focused ion beam (FIB). In this way, stress can be distributed in various different ways, depending upon the specific application.
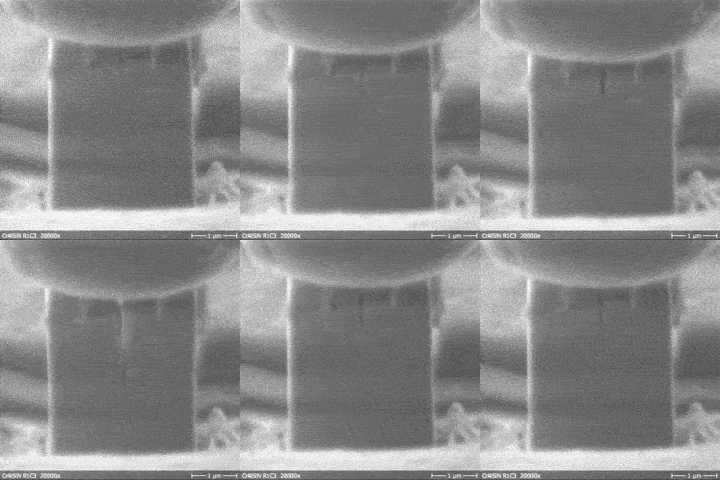
Dedicated precracked micropillar for fracture toughness evaluation
Selected References
- B. R. Lawn, A. G. Evans, D. B. Marshall, Elastic/Plastic Indentation Damage in Ceramics: The Median/Radial Crack System, Journal of the American Ceramic Society 63 (1980) 574–581. https://doi.org/10.1111/J.1151-2916.1980.TB10768.X
- A. J. Lunt, G. Mohanty, T. K. Neo, J. Michler, A. M. Korsunsky, Microscale resolution fracture toughness profiling at the zirconia-porcelain interface in dental prostheses, in: Micro+ Nano materials, devices, and systems, 9668 (2015) 574–584. https://doi.org/10.1117/12.2199217.
- J. P. Best, J. Zechner, J. M. Wheeler, R. Schoeppner, M. Morstein, J. Michler, Small-scale fracture toughness of ceramic thin films: the effects of specimen geometry, ion beam notching and high temperature on chromium nitride toughness evaluation, Philosophical Magazine 96 (2016) 3552–3569. https://doi.org/10.1080/14786435.2016.1223891.
- J. P. Best, J. Zechner, I. Shorubalko, J. V. Oboňa, J. Wehrs, M. Morstein, et al., A comparison of three different notching ions for small-scale fracture toughness measurement, Scripta Materialia 112 (2016) 71–74. https://doi.org/10.1016/j.scriptamat.2015.09.014.
- G. Sernicola, T. Giovannini, P. Patel, J. R. Kermode, D. S. Balint, T. B. Britton, F. Giuliani, In situ stable crack growth at the micron scale, Nature Communications 8 (2017) 108. https://doi.org/10.1038/s41467-017-00139-w.
- J.J. Schwiedrzik, J. Ast, L. Pethö, X. Maeder, J. Michler, A new push‐pull sample design for microscale mode 1 fracture toughness measurements under uniaxial tension, Fatigue & Fracture of Engineering Materials & Structures 41 (2018) 991–1001. https://doi.org/10.1111/ffe.12741.
- J. Ast, J. J. Schwiedrzik, N. Rohbeck, X. Maeder, J. Michler, Novel micro-scale specimens for mode-dependent fracture testing of brittle materials: A case study on GaAs single crystals, Materials & Design 193 (2020) 108765. https://doi.org/10.1016/j.matdes.2020.108765.


